Tag Archives: cancer

Quality Analysis and Quality Control of IHC Stains

At Caris Lifesciences, all of the stained slides went through a quality control process before they were able to leave the laboratory. Once out of the lab, they were looked at by a pathologist who put together a recommended treatment plan for rare and hard to treat cancers. They used a combination of immunohistochemical (IHC) stained slides, a molecular profile, and a comprehensive database of patient treatment. All of this was done in house, which helped Caris shine from the rest of the theragnostic labs.

As I progressed as a histotech, I learned more and more about looking at slides and stains to determine if things stained properly. I received training from pathologists, coworkers, and supervisors. If I had a question on a stain, I would always get the best answer I could from a supervisor. It was  painstaking to learn it all, but it really helped me develop and understand and knowledge base of the stains we performed and also what a lot of tissue looks like under a microscope.

quality control and analysis using H&E
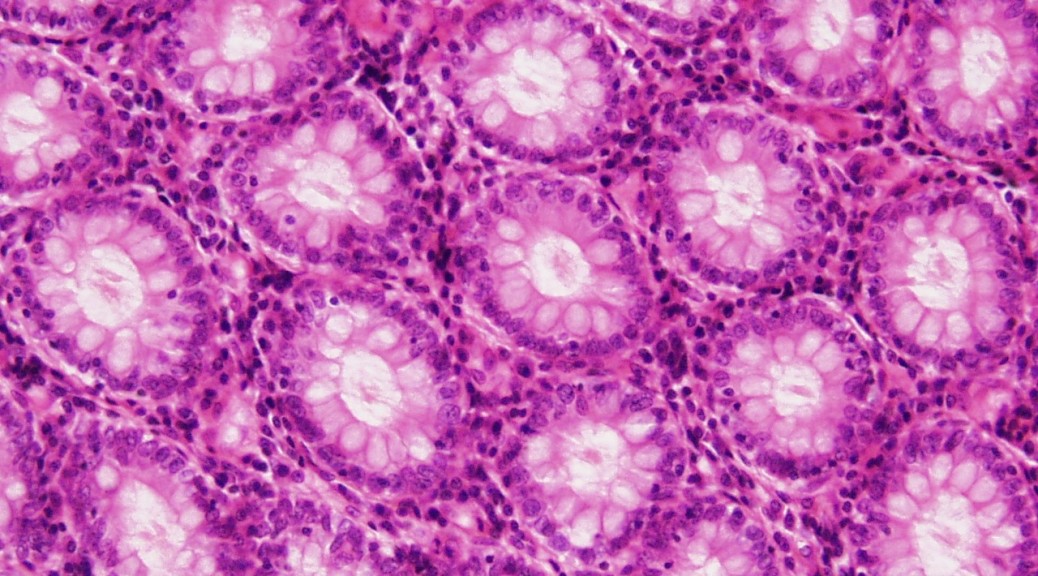
This is a hematoxylin and eosin, or H&E stained slide. These are the bread and butter of histology. Most diagnostics start here. This is a section of colon.

The majority of what I learned was developed when I was making tissue micro-arrays (TMA). Please see the section I’ve devoted to TMAs.

quality control and analysis TMA
This is a very large tissue micro-array

Quality control for the automated stainers (Ventana and Dako) consisted of looking at the TMA section placed on each slide. These act as positive controls for the stains. Several different tissue types were present that were know to stain positive for all of the stains. I was in charge of selecting tissue and passing the tissue by sectioning and staining each tissue type for all of the stains it was supposed to stain positive for. This was step one of the quality control process.

quality control and analysis HER2
This is a HER2 positive stain on breast tissue. It’s one of the prettiest stains resembling a stained glass window.

The final step before the slides were delivered to a pathologist was the QC stage. Someone would sit and look at the TMAs on each slide and also the tissue to make sure that it didn’t fall off and had a uniform stain. Sometimes in microtomy a section can be placed on a slide that is thick on one side and thin on the other, or had chatter or other anomalies. Once this was done, the case was logged and sent out of the lab. I spent a lot of days at the QC station. It was always a nice change of pace from the frustrating microtomy or monotonous staining procedures. It was fascinating to see all the different types of tumors and stains.

Cytology Specimens for Theragnostic Cancer Treatment

I was always looking at learning how to do new techniques and operate new machinery while I was working at Caris Lifesciences. The projects that take you out of the repetitive daily tasks were what I lived for. Cytology was a great skill to learn.

I was approached about how I would feel about learning how to process fluid specimens during grossing, or cytology. Since this was something new, I wanted to see how it went. We were going to receive all types of bodily fluids, most of them containing blood, but not necessarily always.

The process wasn’t super complicated, but there were a lot more manual steps involved than simply putting tissue in a tissue processor.

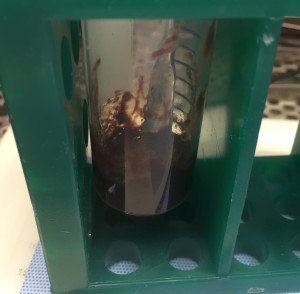
It involved pipetting the blood into smaller vials. These vials were then placed in a centrifuge, spun down, and had the supernatant pipetted off the top, and then spun down more to form a pellet.

cytology
A bloody fluid sample on its way to becoming a pellet in a centrifuge tube

The idea was to get as much of the fluid out as possible. This process continued until a satisfactory pellet was made.

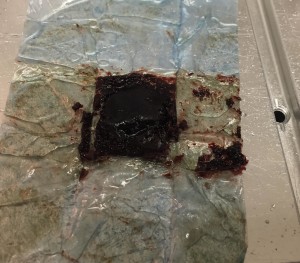
The pellets were then combined and heated agarose gel was added to the cell pellet. The agarose infused cells were then wrapped in lens paper and stuck in the tissue processor to further desiccate the sample. After tissue processing, it was embedded in paraffin and cut on a microtome like any other sample.

cytology
A processed cytological specimen sitting on a hotplate ready for FFPE block construction

With all the steps, these samples could take anywhere from 45 minutes to a few hours depending on the quality of the fluid being sent in. If it wasn’t fresh, it was hard, and if it had formalin in it, more centrifuging was required.

I was the only person, besides the lab director, who was responsible for doing these samples. It was a responsibility I gladly accepted, plus if one of these cytology samples came in on a weekend (which I volunteered to work), I would have to process them anyway. I did so with little supervision or training, but just followed the assay and everything came out well each time. Most of the specimens I handled yielded good molecular data later down the process line.